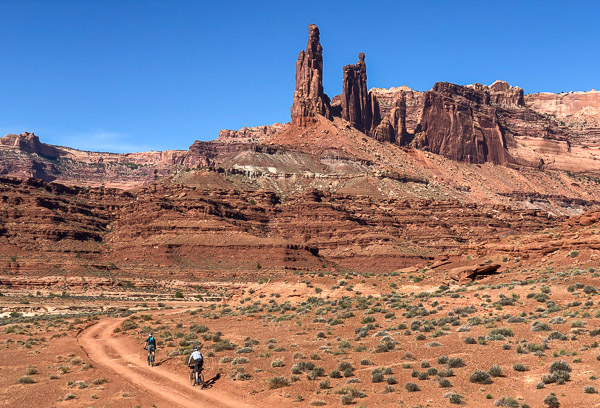
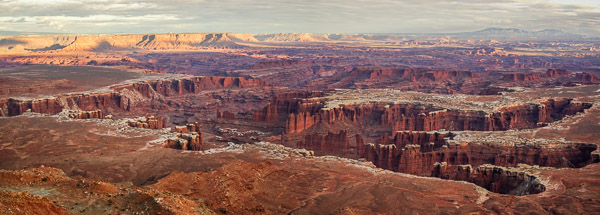
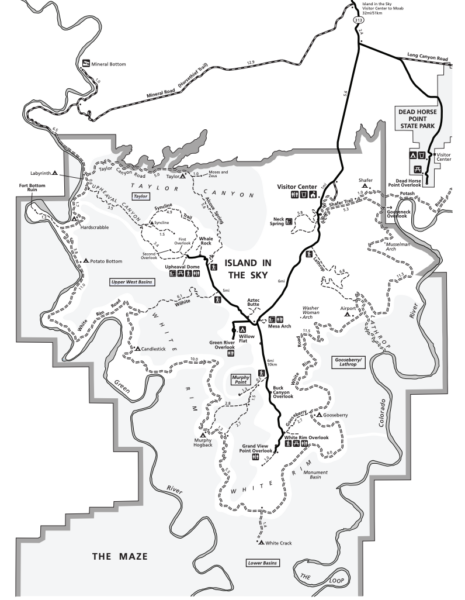
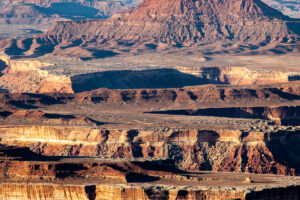
The White Rim is one of the premiere features of the Island in the Sky District of Canyonlands National Park. The route winds through some of Utah’s most spectacular canyon country for about 100 miles, following the curves of the local White Rim layer of sandstone— high above the Colorado and Green rivers, and below some amazing desert towers, buttes, and mesas.
The road is popular with the jeep crowd, dirt bikers, and trail runners, though it might be the mountain bikers that make up the bulk of the visitors. It’s a common outing for many to ride the White Rim on mountain bikes, with a couple of support vehicles to haul all the food and camping gear. These trips are typically spread out over 2-4 days, making use of established campsites that require advanced reservations. White Rim permits allow for 16 people and three vehicles, and on any given day in the spring and fall riding season there will be several large groups out on the route.
Those trips are really fun, and through the years we’ve ridden the White Rim in this fashion many times. But the permits can be hard to get, and sometimes it’s tough to organize so many people on a multi-day trip. And if you ride a lot you might ask yourself if it’s necessary to spend so many days on the route, or if it’s possible to just do it in one day.
So after years of doing this trip as a 3-4 day adventure, it was finally time to ride the White Rim in a day.
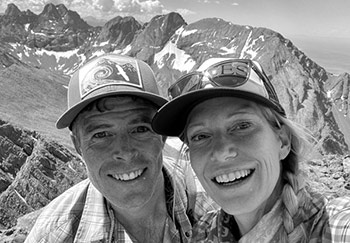
Earlier in the summer I convinced two friends to commit to the outing. Jared Ettlinger and Andy Docken were both very familiar with the route and were up for the adventure, so we put a date on the calendar. We picked early October so we would be out of the late summer heat, yet not so late in the fall that the daylight would be too short.
We talked to a lot of friends who do the White Rim in day each year, and they advised us to plan for 12 hours start-to-finish, which is a lot of time in the saddle.
There aren’t any services out there so all the food and water for the day has to be carried. It’s also important to pack some repair kit items in the event of flats or mechanical issues, first aid, and some extra clothing. And lights were needed since we’d be starting a bit before sunrise and could be pushing the available daylight, especially if there were any unforeseen issues.
Some other logistical decisions needed to be made as well. You can ride the loop in either direction and pick from various starting points. There are also some places you could potentially stash some gear or water along the route, so you don’t have to carry everything the entire time.
After taking those considerations and others into account, we decided on a few things:
- Because we were familiar with the clockwise loop from prior trips, we opted to go that direction.
- After considering the layout of climbs and descents, we decided to start with the Mineral Bottom climb, so as to get the steep uphill out of the way early when our legs were fresh.
- By tackling the Mineral Bottom climb first, we would then spin through the non-technical section of the Mineral Bottom road to the Park Entrance as the sun rose.
- We stashed the bulk of our water near the Park Entrance the day before. That allowed us to start in the cool morning temps with just a single water bottle and cover the first 20 miles with less weight.
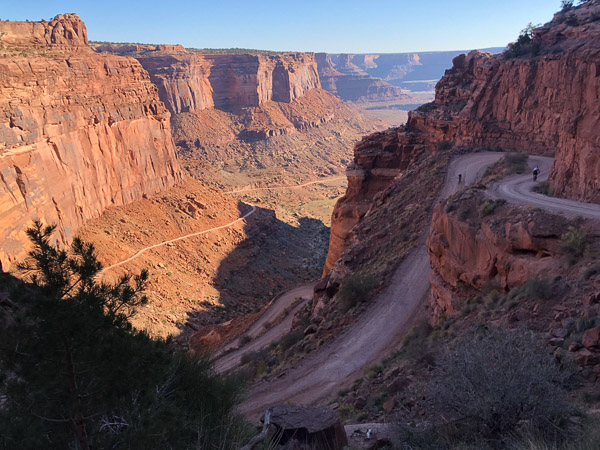
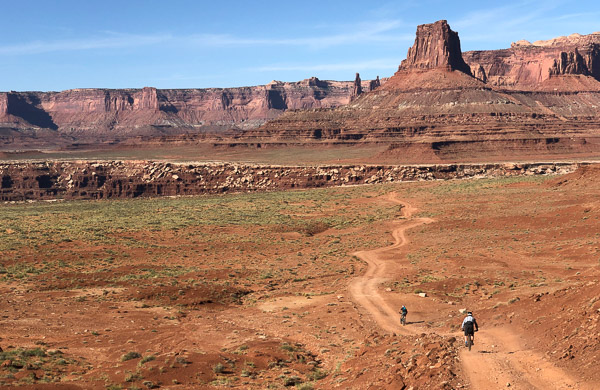
- Once we picked up all of our bottles and bladders for the day, we paid our Canyonlands NP admission, descended the Shafer Trail, and rode the White Rim Road back to vehicles at Mineral Bottom.
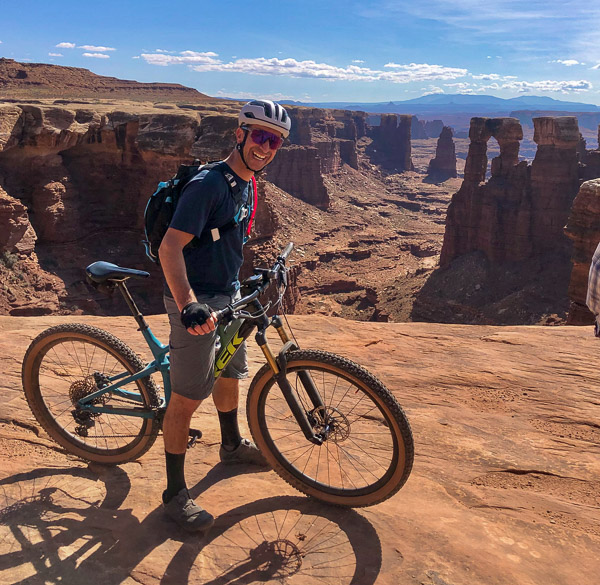
It was really fun. Our ride time was 9:45 or so and the vertical measured at above 6000 feet of uphill. We had no mechanicals, flats, or other issues.
A few other random details:
- You need a day-use permit which a ranger inquired about while we were out on the route. You can get them online at recreation.gov the day before for $6.
- The park entrance fee is $15 per person, so bring a credit card for that.
- All of the gear and water weighs a lot. Use any bike packing gear you have, the more weight you can get off your back and onto the bike, the more comfortable you’ll be.
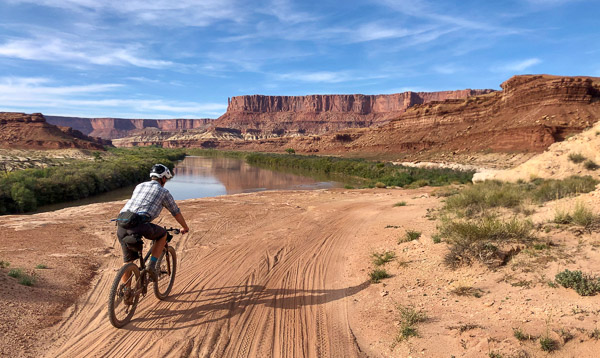
Don’t cut corners with your shared repair kit and first aid gear. Once out on the route you are far from assistance, so be prepared to troubleshoot bike issues on your own. Friends have reported everything from broken chains and spokes to irreparable flats and broken seat posts. A small hand pump is recommended over CO2 canisters, and definitely show up with bike in good shape to start.
Mechanical issues out in the middle of the route could leave you walking for miles, almost certainly in the dark, and likely begging for assistance from other groups camping out there. As they say, hope for the best but plan for the worst, and with any luck you’ll have a fun day out there!




Leave a Reply